Brewing my first beer
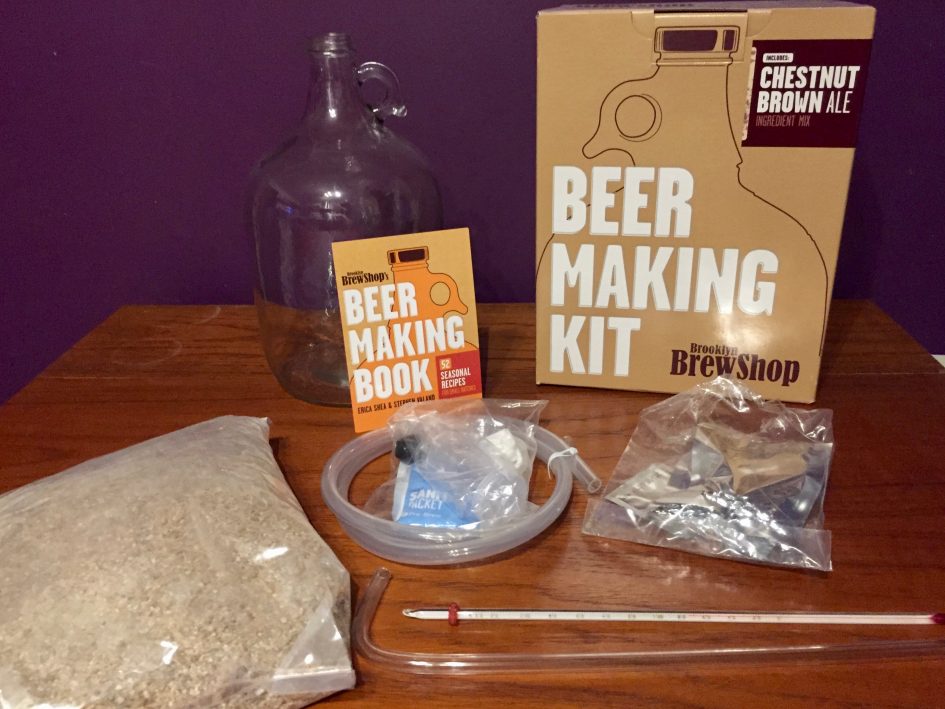
Sitting in the spare room right now, in the dark, slowly bubbling away is my first ever homebrewed beer. It's a Chestnut Brown Ale to be precise. I've had a Brooklyn Brewshop Kit for two years now, it was a Christmas present from Laura's Mum and Dad. Somehow I've not managed to get around to brewing it until now.
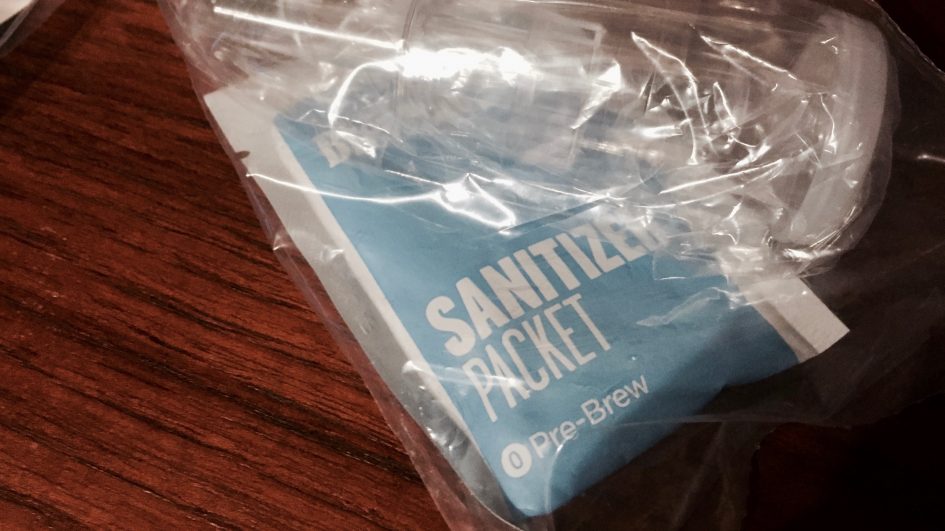
Sanitising
According to the instructions the first and most important step of brewing is making sure everything you need to use is well sanitised. So I got started by making up a sink full of sanitiser and soaking everything in it.
Mashing In
Check me with the fancy words!
This is where the fun begins. I heated 1.9 litres to 71ºC (160ºF), and added the grain (this is the oaty stuff that makes the bulk of the mash). This is where the dark colour and most of the flavour comes from.
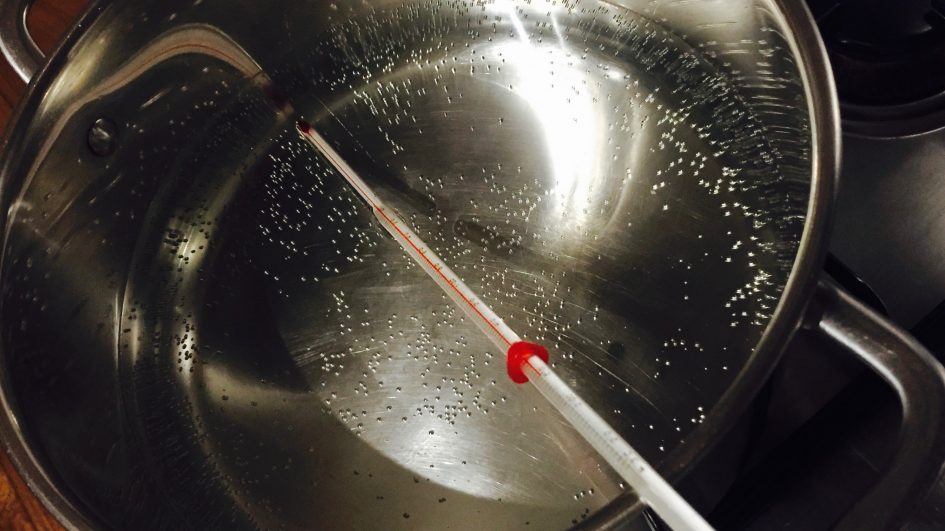

Then I had to cook the mash for an hour somewhere between 63 to 68ºC (144 to 152ºF). During this time it was important to keep stirring and measuring the temperature, as keeping an even heat throughout the pan would help to prevent overheating the mix.
After that first hour I had to heat the mash up to 77ºC (170ºF) while stirring constantly. My instructions kindly inform me this step is called "Mashing Out".
The Sparge
Yep, "The Sparge". Seriously that's what it's called. I don't know what it means. Yes it does sound like something from a bad horror movie.
Anyway... This is the bit where we add loads of extra water and get rid of the mash. This will leave us with all of the liquid, called wort (my instructions kindly tell me this is pronounced "wert"). The wort is the stuff that will become our beer.
I had to strain the mash and collect all of the wort in a big pot below the strainer. Once I'd done that I needed to pour 3.8 litres of 77ºC (170ºF) water of the mash to get the rest of the sugars and flavours out. I now had about 4.75 litres of wort. I poured all of this back over the mash one more time to really pull any remaining goodies from it.
This is the step where I discovered just how messy and sticky beer making could be!

The Boil
Now I had my wort, and I needed to boil it for an hour at a light boil. I also got to add in 2/3 of the hops. They smelled fantastic. In the kit were vacuum sealed packets of East Kent Golding hops. The smell reminded me of Brewdog's Dead Pony Club.
Dead Pony Club doesn't use East Kent Golding hops, but it does "contain an insane amount of US hops".
About 40 minutes in I added the rest of the hops, enjoying that incredible aroma once again. You can buy the hops online for about £3 or so. Go get some and give them a sniff!
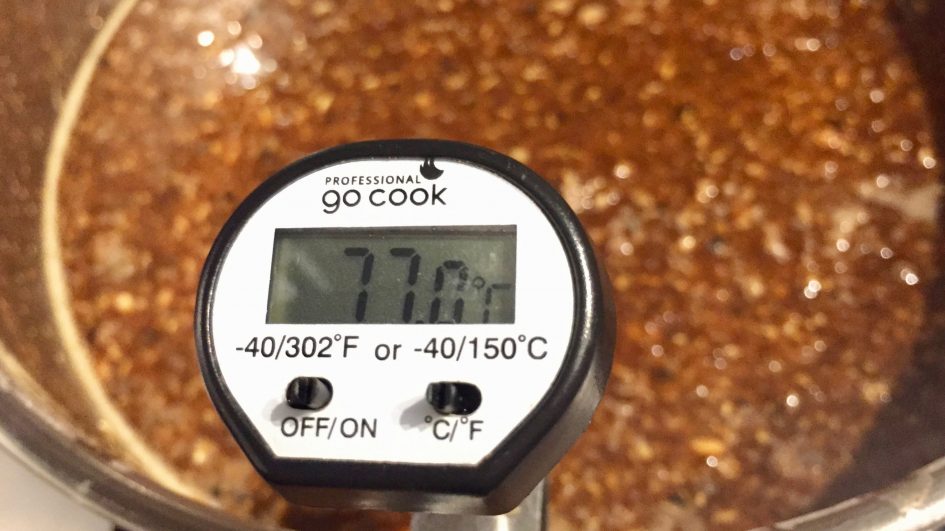
After the hour was up I had to switch off the heat, and put the pan of wort in a sink full of ice to drop the temperature to 21ºC (70ºF).
Fermentation
The hard work was over, now I just needed to put it in the demijohn. To do this I had to place the strainer over the top of a funnel and pour all of the wort through them both.
I'd lost of a fair bit of wort to evaporation during the boil, so I had to top up the demijohn to the 1 gallon mark with some cold tap water. Don't worry the instructions said that it's normal to have to top it up.
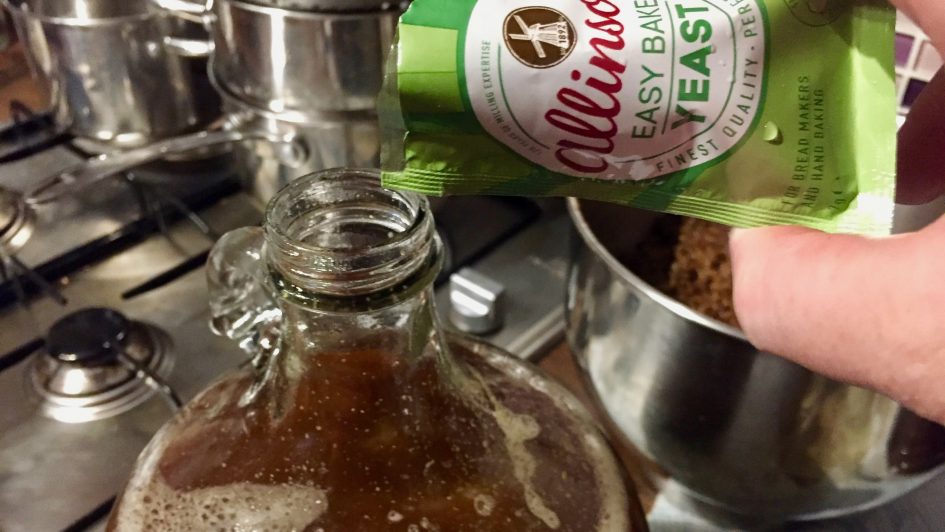
The reason I had to drop the temperature down in the previous step, is that it was now time to add the yeast. I had to put 4 grams of instant dried yeast in to the demijohn and give is a good shake. This helps to activate the yeast, and get extra air in the wort.
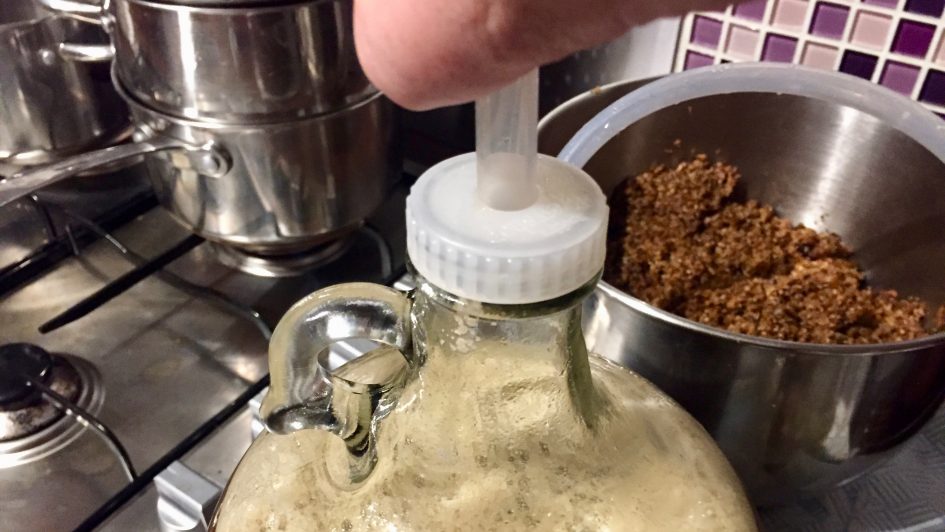
That was it. I added the cap and pushed a rubber tube in to allow air to escape into the a mug of water. This "blow off tube" is only needed for the first couple of days as that's when the yeast is at its most active.
My trusty instructions told me it must be kept in the dark, so I put it up in the spare room with the blinds closed.
For the first two days there was a lot of bubbling happening! After the bubbling had calmed down (about two or three days in) I removed the rubber tube and put the airlock in place. The airlock allows gas to escape out from the demijohn, while preventing air and bacteria from getting in.
After two weeks of fermentation in the demijohn, it can be bottled. It's almost been two weeks, I can't wait!
I'll post an update here when that's done :)
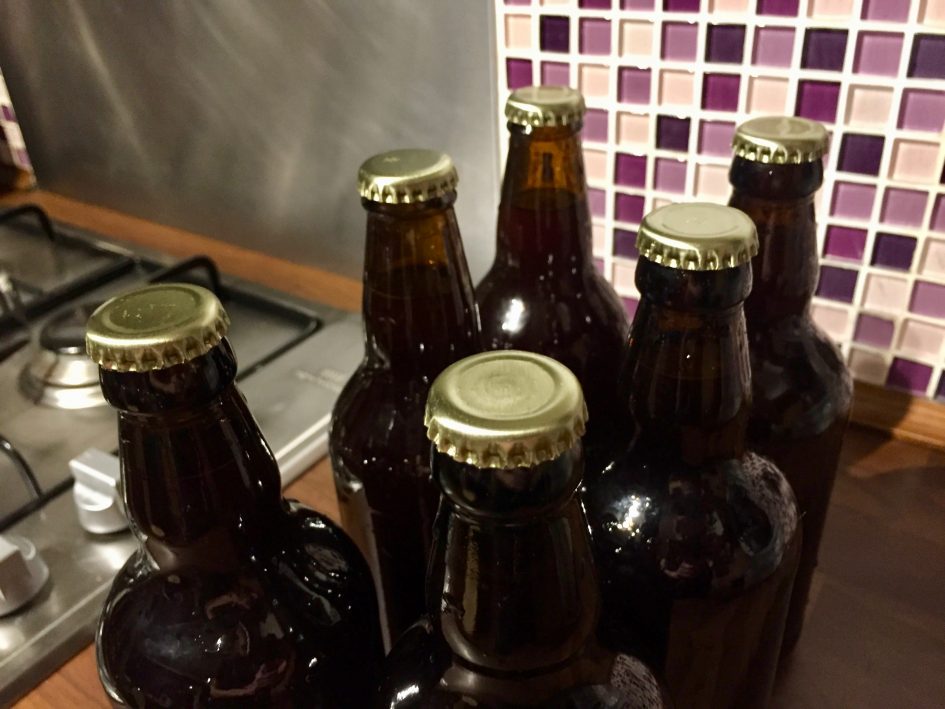
Update: The Drinking!
Nothing exploded! I know, it's a miracle. After everything I'd read I was fully expecting to have lost at least a bottle or two to over carbonation (too much pressure).
On Christmas day I opened the first bottle, and found out how close a thing it probably was. The bottle I opened almost sprayed beer foam all over the cream carpets, followed by a mad dash to the kitchen sink.
Once the head subsided we had a taste. It was surprisingly good! That said, it had a taste like a stout or a bitter that you would expect with a heavier drink. I'm thinking this slightly odd texture was due to amount of carbonation. Next time I'll know to use a little less honey in the last stages.
I have two bottles left to drink, and am looking forward to making some more. I've got to say the beer kit gave me a good walkthrough. I'm planning to buy a few more kits that just contain the ingredients before I try flying solo.
I'd also recommend making sure you have some quite large containers for the making process, so I think I'll pick up a couple of those before making the next batch.