Well there's your problem!
I'm no expert in the dynamics of flight, but I'm fairly certain that the props are supposed to turn.
Last week my AR Drone took a nose dive into the curb of a pavement, before pirouetting through the air to land on its feet. It's not uncommon for the drone to bounce around a little if it crashes with an odd angle, the flexible props usually bounce it harmlessly off walls, etc.
As the drone sat there I thought how lucky I was that it finished on its feet, and that I didn't need to go flipping it over again. I presses the Take Off button and watched as three of the four props turned, realising there was a problem I stabbed for the Emergency cut off button, but not before it flipped itself over and onto its back.
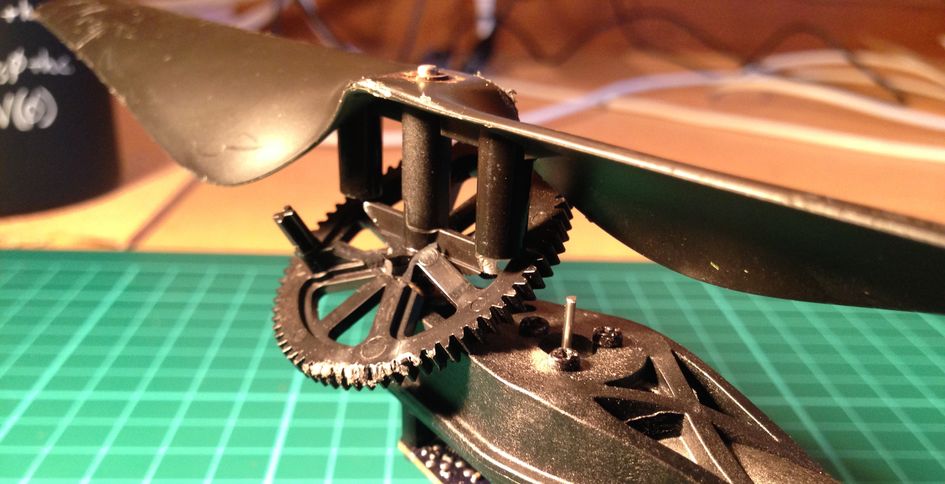
Upon inspection I could see the mangled prop gear and considered myself grateful it was only that that had broken. New gears and props cost very little, and are easily replaced. I ordered the part I needed and when they arrived I set about my first drone repair job.
I later realised I was also missing a Pinion gear - these are the tiny metal gears that sit on top of the motors. Finding a replacement wasn't obvious as they are not listed in the Parrot replacement parts, they are however included in the gears and shafts pack.
The repair
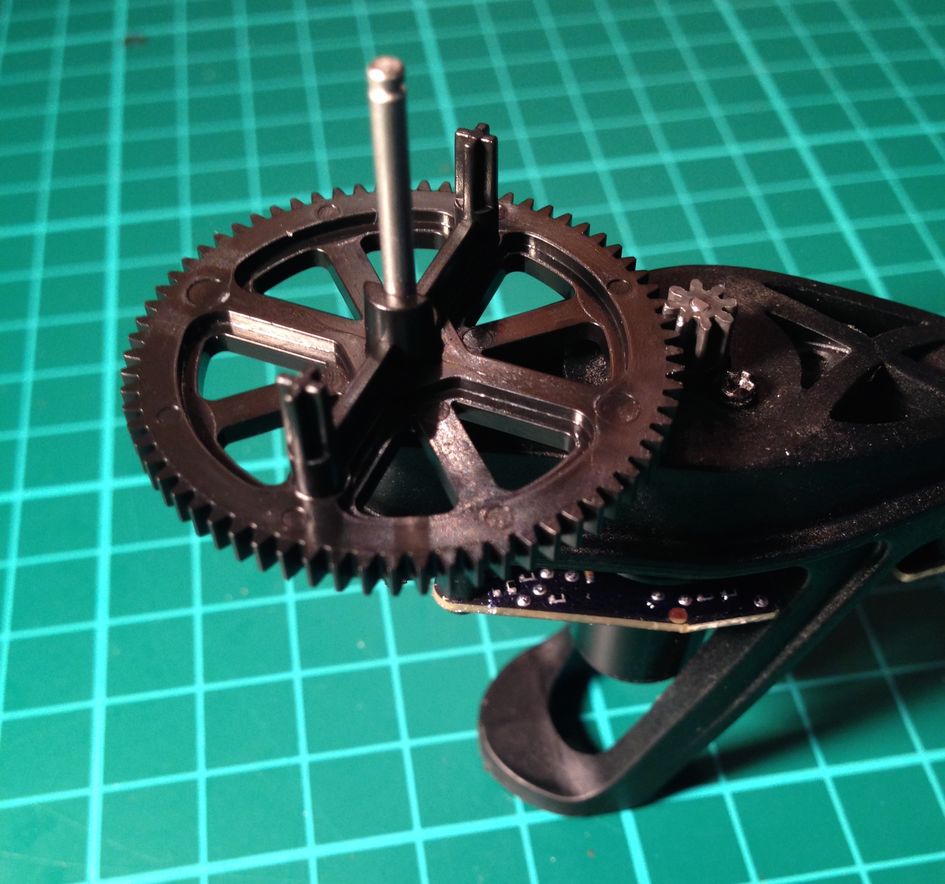
The prop is secured to the motor housing by a small clip that sits within the top of the steel shaft.
I had no problem removing this using the Parrot tools, however be sure to check you have spares as they tend to ping off. Tip: Official Parrot replacement parts come with new sets of clips.
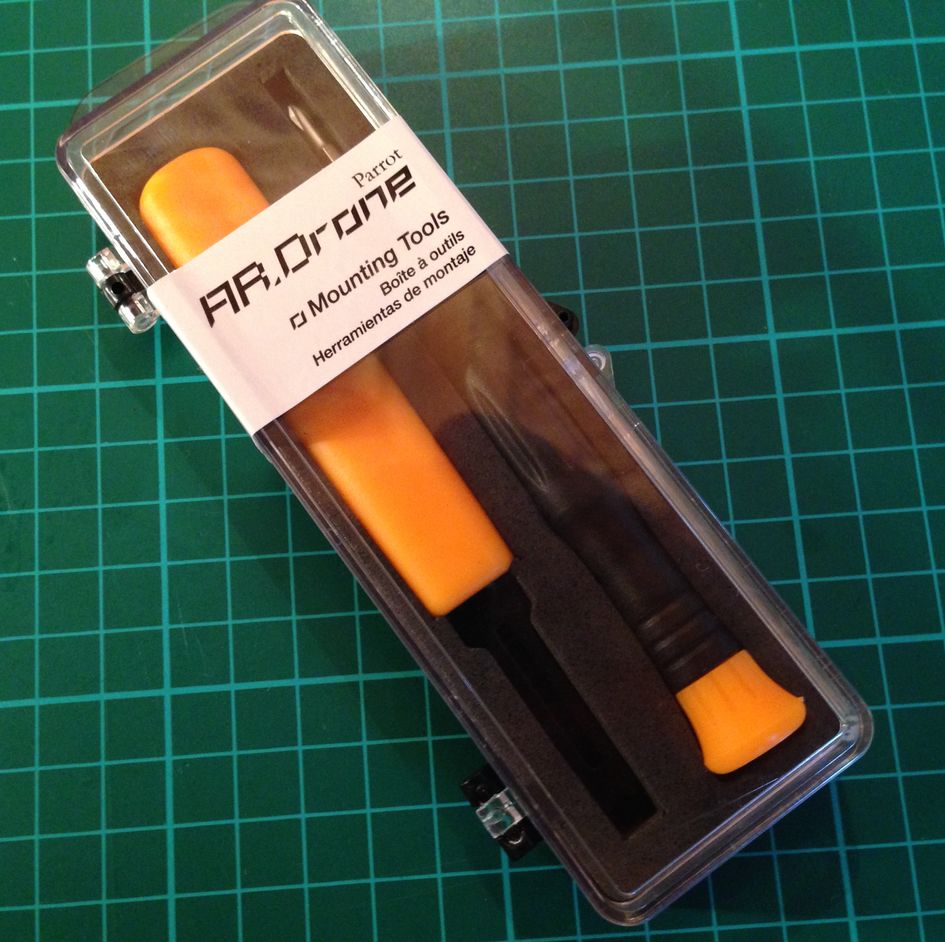
I would recommend investing in a set of official Parrot tools. For the small cost of £12 it's worth knowing you're not going to break something by trying to improvise with a screwdriver.
Once the clip was removed, the prop, gear, and steel shaft removed easily. The shaft wasn't bent, but I decided to swap it out for a fresh one anyway. Gravity can be a pain when putting the new components in; the shaft will want to drop out of the bottom. Tip: To free up a hand, stick a small strip of electrical tape to the bottom of the housing to stop the shaft from falling out.
After I'd placed the new prop on top, replacing the clip was a fairly easy process, though it needed a little more force than I was expecting. I'm not sure how you would attach the clips without the right tool for the job.
All done
After a quick inspection and flick of the props, I decided to give it a spin. Everything worked perfectly, and I'm fairly certain it was running a little quieter than before too!
If you need to make a repair to your drone, don't panic! The more easily broken parts cost very little to replace, and the process took me no longer than 20 minutes.